SimpleRTApp: Using APN to send iOS pushes from a Node.js API
This article is part of a series that aims to build a system to send notifications of relevant articles of Twitter, with the purpose of being easily retweeted. Here is the complete article.
In this opportunity we’re going to see how to send push notifications from a
Node.js API to a iOS device. To do that, we’re going to use the apn node
package.
Requirements
To continue with the article, we’ll need to have the following:
- a physical iOS device, that’s because pushes don’t work on simulator
- an Apple Developer Program Membership account. We know that we can build the app on device without it, but to be able to setup the push notifications we would need to have one, in order to create a Push Notification Certificate.
Apple Push Notification Service
Apple Push Notification service (APNs) is the main actor in remote notifications feature. It ‘s a remote, robust and secure service which allows developers send information to iOS (and also indirectly to watchOS), tvOS and macOS devices.
When an iOS app starts on a device, the system automatically establishes an accredited, encrypted and persistent IP connection between the app and APNs. This connection allows the app to setup and enable the device to receive notifications. You can read more about this topic on Configuring Remote Notification Support.
Another part of the connection (the persistent and secure channel between a provider server and APNs) requires configuration on the developer account and the use of provided certificates by Apple. The provider is a server, where the developer implements and manages, to work with APNs.

Delivering a notifications from server to device
More information about APNs in Apple official documentation.
About apn node package
To be able to interact with APNs we’ll need to do all the connections and
configurations on our server in Node.js. To do that, we have the apn
package, which is a Node.js module to easily send notifications with APN
service. It’s ready to use on production and includes some features to make
easier the notifications implementation. Some of its characteristics are:
- It’s based on a provider HTTP/2 API
- Maintains a connection between server to maximize the processing and notifications delivery
- Automatically send not sent notifications if an error occurred.
You can see the official repository here: <https://github.com/node-apn/node- apn>
Certificates creation
In order to send notifications from our server, we need to tell APN that we have permissions to do so for our app. That’s why we need to create an SSL certificate to establish a secure connection with APNs. We will have to do the following:
- From Xcode, we open our project and select the Target -> Capabilities tab. There we enable the Push Notifications switch. We wait a bit the automatic configuration to be done

2. Once enabled, we go to Developer Center, enter to our account, Certificates, Identifiers & Profiles, Identifiers, App IDs and look for our app (in our case, SimpleRTApp). Let’s tap on Edit.
3. On that screen, we open the Push Notifications section, and where it says Development SSL Certificate, we open Create Certificate…

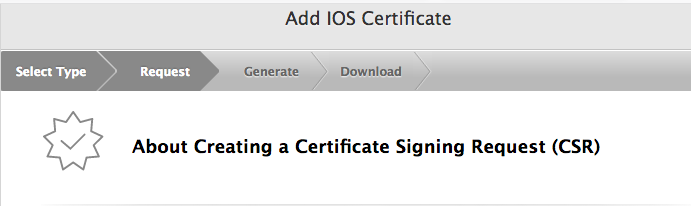
Right there it tells us the steps we must take, but I will also transcribe them here to make it easier.
4. We open Keychain Access app on our Mac and tap on Keychain Access ->
Certificate Assistant -> Request a Certificate from a Certificate Authority.
There we tap on “Save on disk” and we place the
CertificateSigningRequest.certSigningRequest file in a safe location.5.
After creating this file, we go back to the Developer Center page and we tap
on Continue. We select the file .certSigningRequest and we click on
Continue agin. We should be on the following
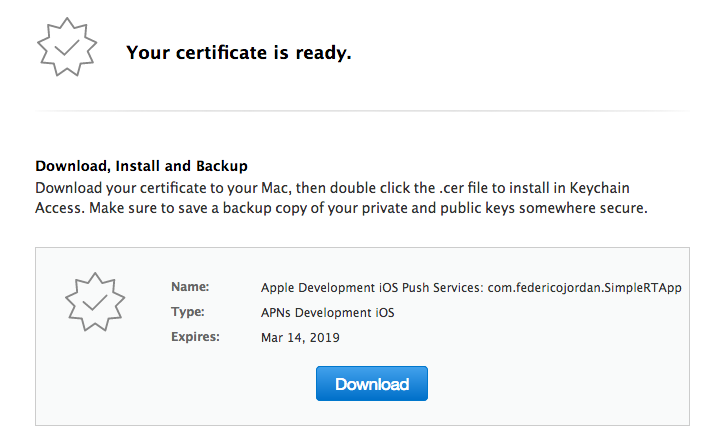
We have ready our file aps_development.cer for download.
6. From Finder app, we do double click on the downloaded file and we see how the Keychain Access app is open, with the new certificate just added.
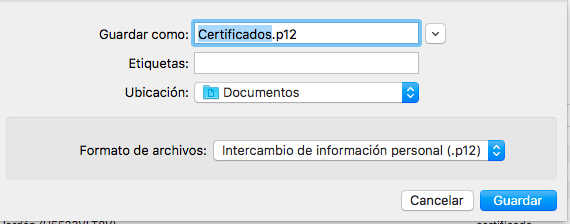
We select the certificate and the private key from the list together, to export a p12 file:

We have to ensure that we export these files as a p12 one. The app will ask us for a password, we type one and save the file on disk.
With all of these we generated the needed p12 file to do the communication between our server and APNs.
It’s important to not forgot the password, because it’s required by Apple to send push notifications
Obtaining device token on iOS
To be able to test our notifications, we’ll need a device token from a physical device.
We can easily find ours, simply requesting push notifications permissions on
our app SimpleRTApp. To do that, we have to add the following methods on our
AppDelegate.swift:
To consider:
- With the
UserNotificationsSDK, we useUNUserNotificationCenter.current().requestAuthorization()to ask permissions to the user - Once we get the permissions, we register with
UIApplication.shared.registerForRemoteNotifications() - If the app could register correcty, iOS will call
application(_ application: UIApplication, didRegisterForRemoteNotificationsWithDeviceToken deviceToken: Data), where we will get the device token value on console
With all of this, the app will be ready to receive push notifications and we’ll get the testing device token to use from the server.
You can follow the final app code on
https://github.com/fedejordan/SimpleRTApp, tag push_notifications_setup
Script creation on Node.js
So we have:
- A p12 file, which we’ll use to have a secure connection with APNs
- The device token, which will help us to send push notifications to this physical device.
So we’re ready to create our program on Node.js to send push notifications:
- We open terminal app and type
npm install apn. This will install the needed module in charge of managing all the stuff related with APNs connection. - We copy the p12 file (in my case
simpleapprt-certificates.p12) to the same folder of our Node.js script - We create the script with the following content:
Where we replace <device-token> and <p12-password> by our own device token
and the password that we used on the p12 file previously.
Basically, on the script, we set the options to stablish the connection (in
out case it’ll be with the certificates, because of that we set the path of
our p12 file and the passphrase), we instantiate the Provider object, create
the Notification one and we send with the send() method. When we have the
response (also for an error), we finish the execution.
To test all of this we go to the terminal, we type node send_push.js and we
wait so the push can arrive to our device:
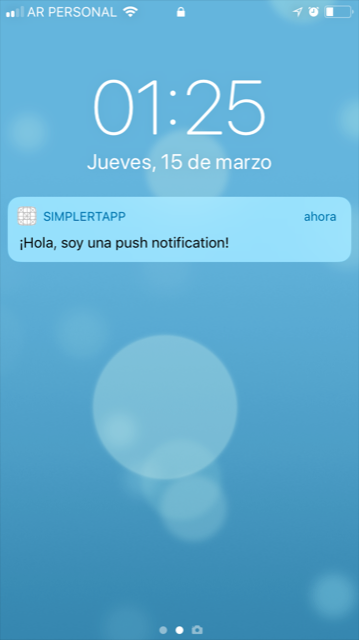
Congratulations! We’re done with our first push notification on a iOS device.
You can see the final script on
https://github.com/fedejordan/SimpleRTAppAPI,
tag send_push_script.
Custom actions usage
For our SimpleRTApp project, we said that we want to have the option for retweeting from the push notification. This can be achivied also sending the information to show a custom action.
What’s a custom action? They are actions or events that the user has available to do on a specific push notification. In our case we’re going to send an action with the name “Retweet”
To do this, we have to send more information on the push notification. In our
script send_push.js we add the following when we set the notification
object:
notification.category = "RETWEET";
By this way we indicate that we want to show a custom action with the
RETWEET category id.
To be able to show the action on the notification, we have to indicate to the iOS app that it’s a allowed action. We have to register the action with the following code:
let retweetAction = UNNotificationAction(identifier: "retweet_action_identifier", title: "Retweet", options: [.foreground])

 let retweetCategory = UNNotificationCategory(identifier: "RETWEET", actions: [retweetAction], intentIdentifiers: [], options: [])

 UNUserNotificationCenter.current().setNotificationCategories([retweetCategory])
We instantiate a UNNotificationAction called retweetAction , which will help us to know what to do if the user tap the action. This action will be associated to a UNNotificationCategory type, which will have a id with the same value we sent from the server. Finally, we tell UNUserNotificationCenter the allowed categories for the pushes (it can be more than one)
The code on the iOS app will be something like this, for our
AppDelegate.swift :
We run node send_push.js on the terminal and check if a push notification is
sent with a custom action:
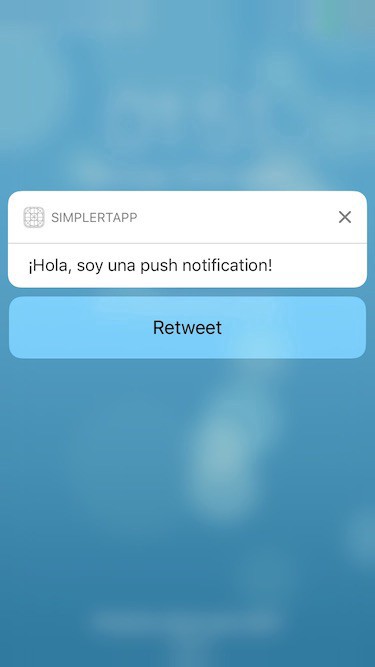
With all of this, we finally got how to send custom actions on push notifications
You can see the final iOS code on
https://github.com/fedejordan/SimpleRTApp,
tag apn_custom_actions.
Conclusion
It was a bit large post, but we do all the needed setup to send push notifications from a Node.js app and the configuration that we need on the iOS app. Also we see all the setup to create the needed certificates to communicate with the APNs server.
In the next post we’ll see the final script that check all the device tokens, do the tweets request and send push notifications. Also we’ll see the logic on the iOS app to retweet if the user does a tap on the push notification custom action.
Thanks for reading!
Sources
- https://github.com/node-apn/node-apn
- https://www.raywenderlich.com/156966/push-notifications-tutorial-getting-started
- https://developer.apple.com/library/content/documentation/NetworkingInternet/Conceptual/RemoteNotificationsPG/APNSOverview.html
This article is also available on Medium